Temporary Fence Installation Guide
DIY Setup Instructions from Modern Fence Rental
Getting Started
At Modern Fence Rental, we make it easy to secure your site with reliable, high-quality temporary fencing. While our team offers professional delivery and setup services (not included in the rental fee), you’re also welcome to install the fence yourself. Follow this step-by-step guide to ensure your fence is properly and safely installed.
What’s Included With Your Rental
When you rent from Modern Fence, you’ll receive:
- Temporary fence panels
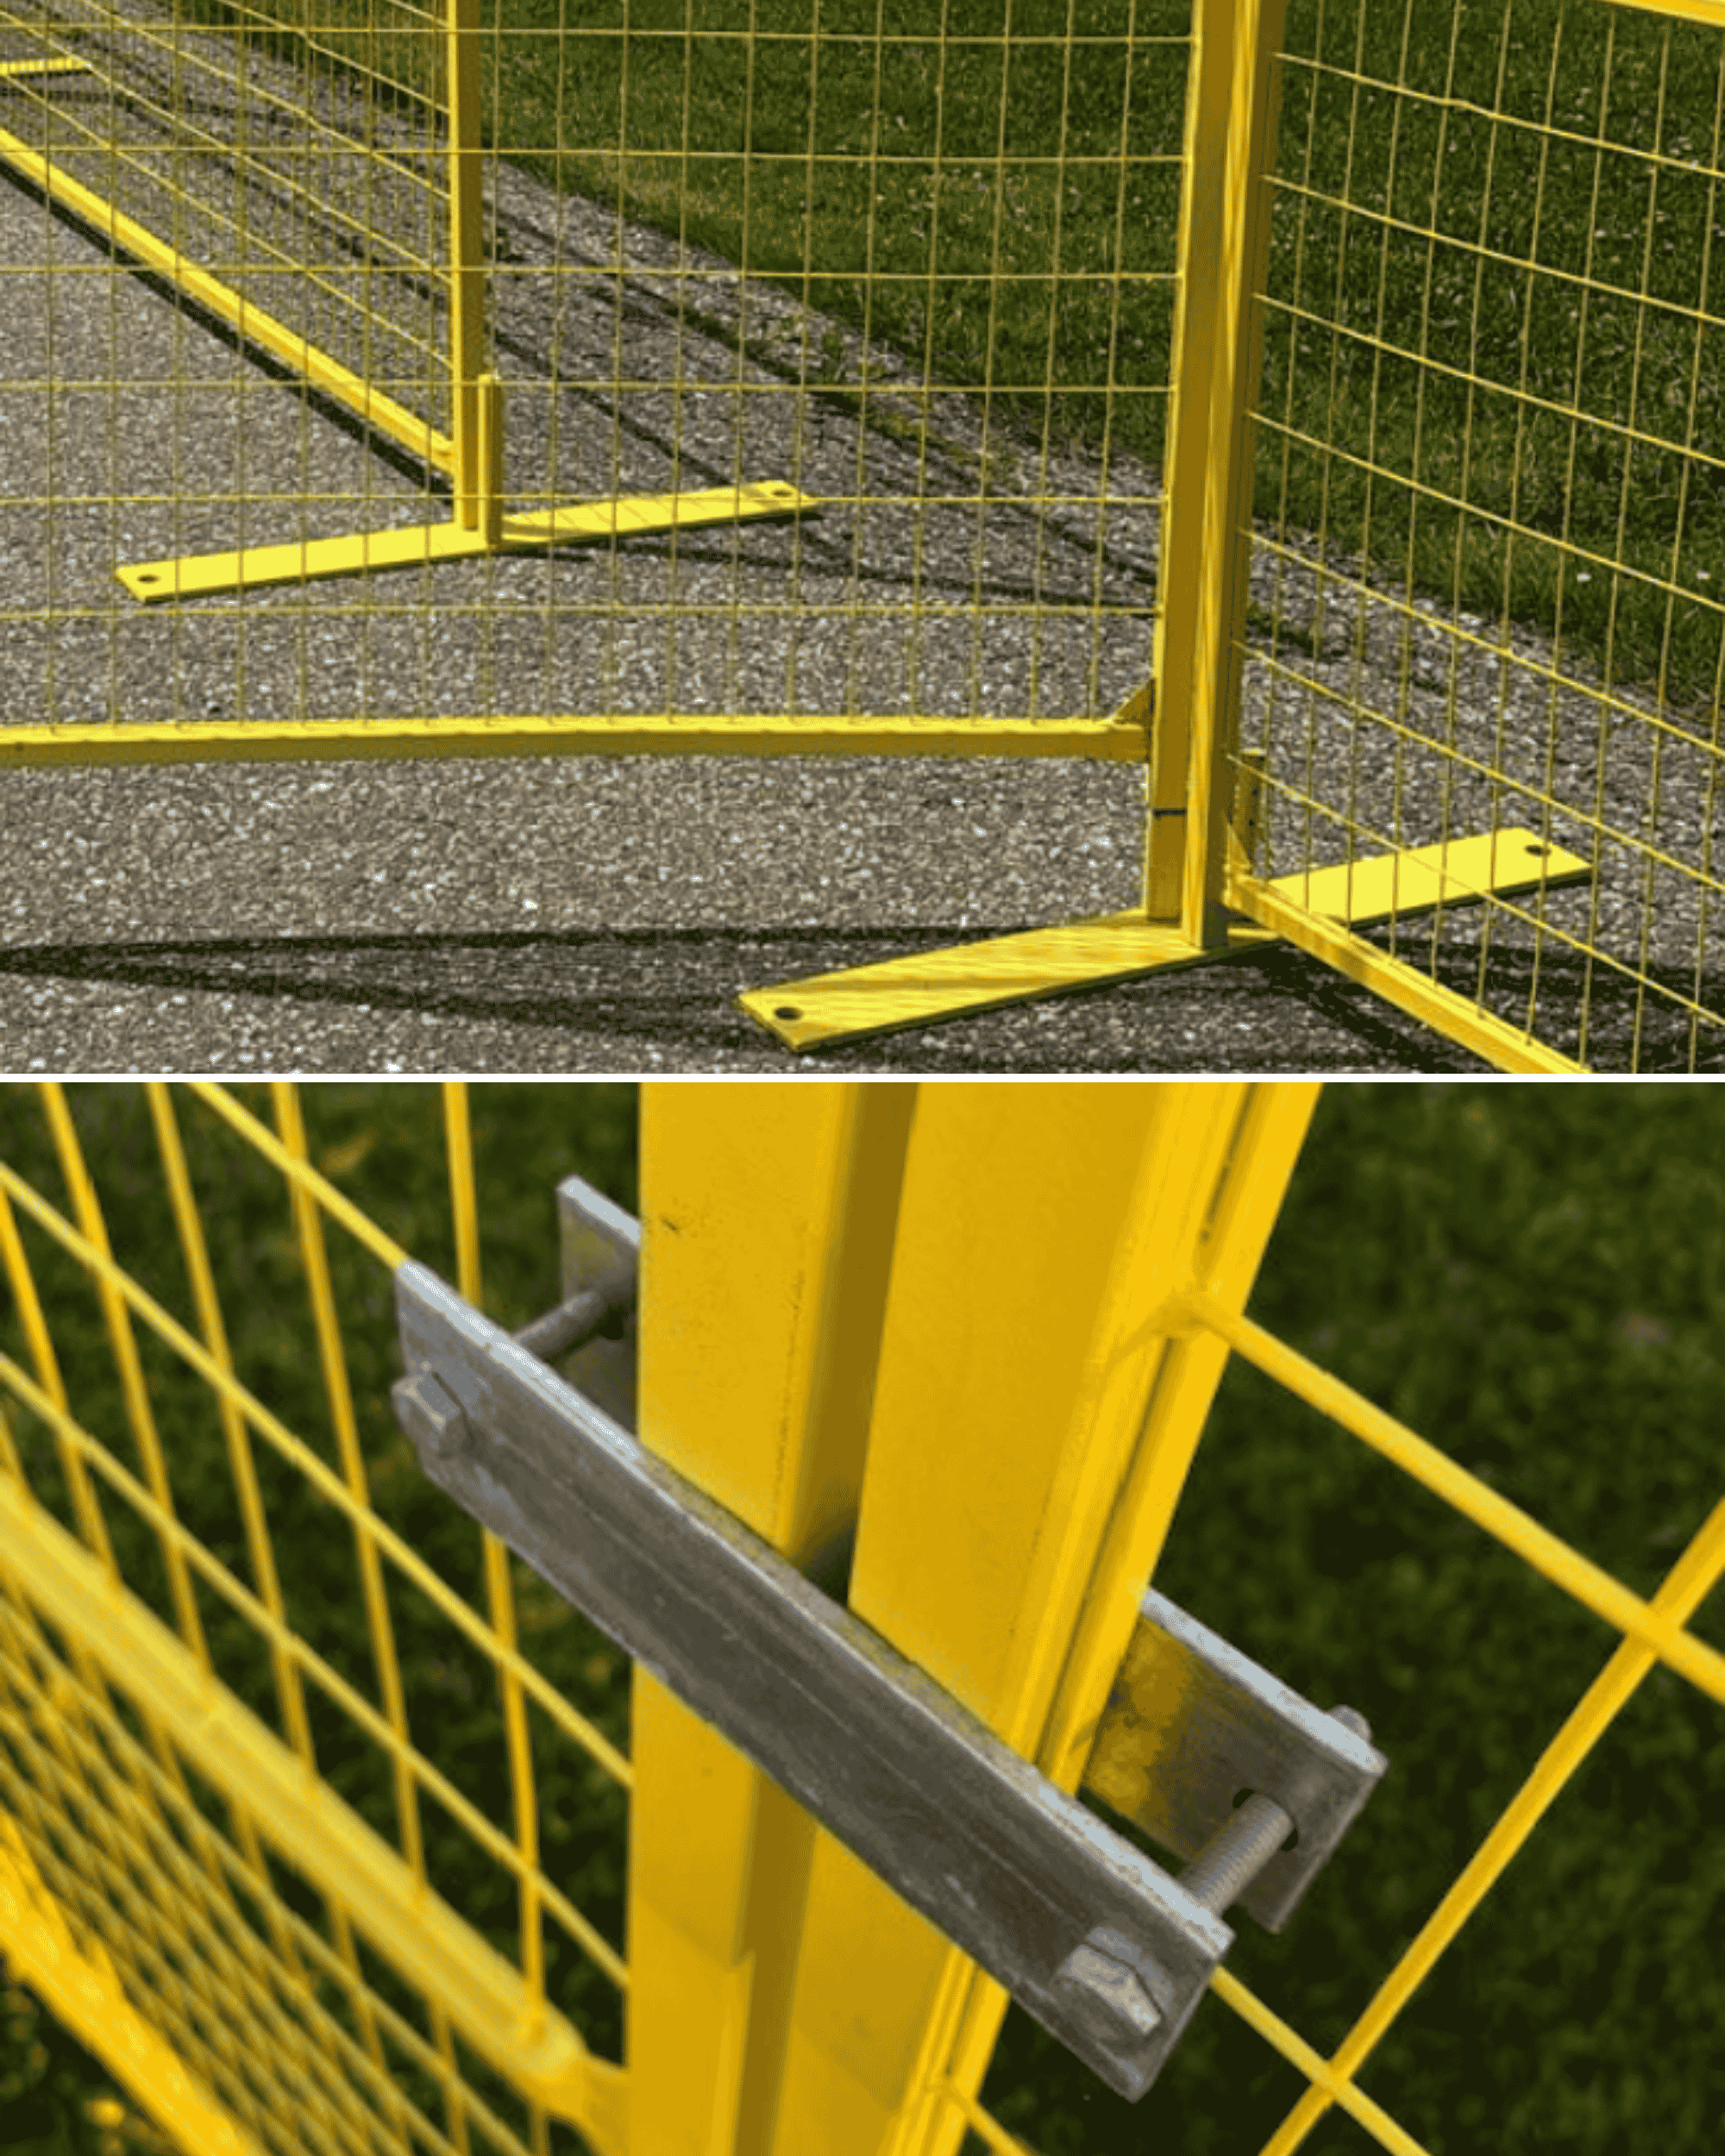
- Fence bases (blocks or stands – one square peg, one round peg)
- Clamps or connectors
Optional Accessories (Available for Purchase)
- Sandbags or Flexweight foot bases – for added stability
- Wind braces – for windy areas
- Privacy screening – to block visibility
- Zip ties – for attaching screening or signage
Suggested Tools (Not Provided)
- Measuring tape
- Level
- Work gloves & safety gear
Step-by-Step Installation Instructions
1. Plan Your Layout: Measure your space and mark the fence line. Decide where you’ll need access points or gates.
2. Prepare the Ground: Clear away debris, rocks, or uneven surfaces. Make sure the ground is level for better stability.
3. Place Fence Bases: Lay out the bases 10 ft. apart. Ensure all round pegs face the same direction for consistency.
4. Install Fence Panels: Start by placing the square peg end of the panel onto the base. Then secure the other end onto the round peg. Ensure the Modern Fence logo plate is on top and facing outward. Repeat for all remaining panels.
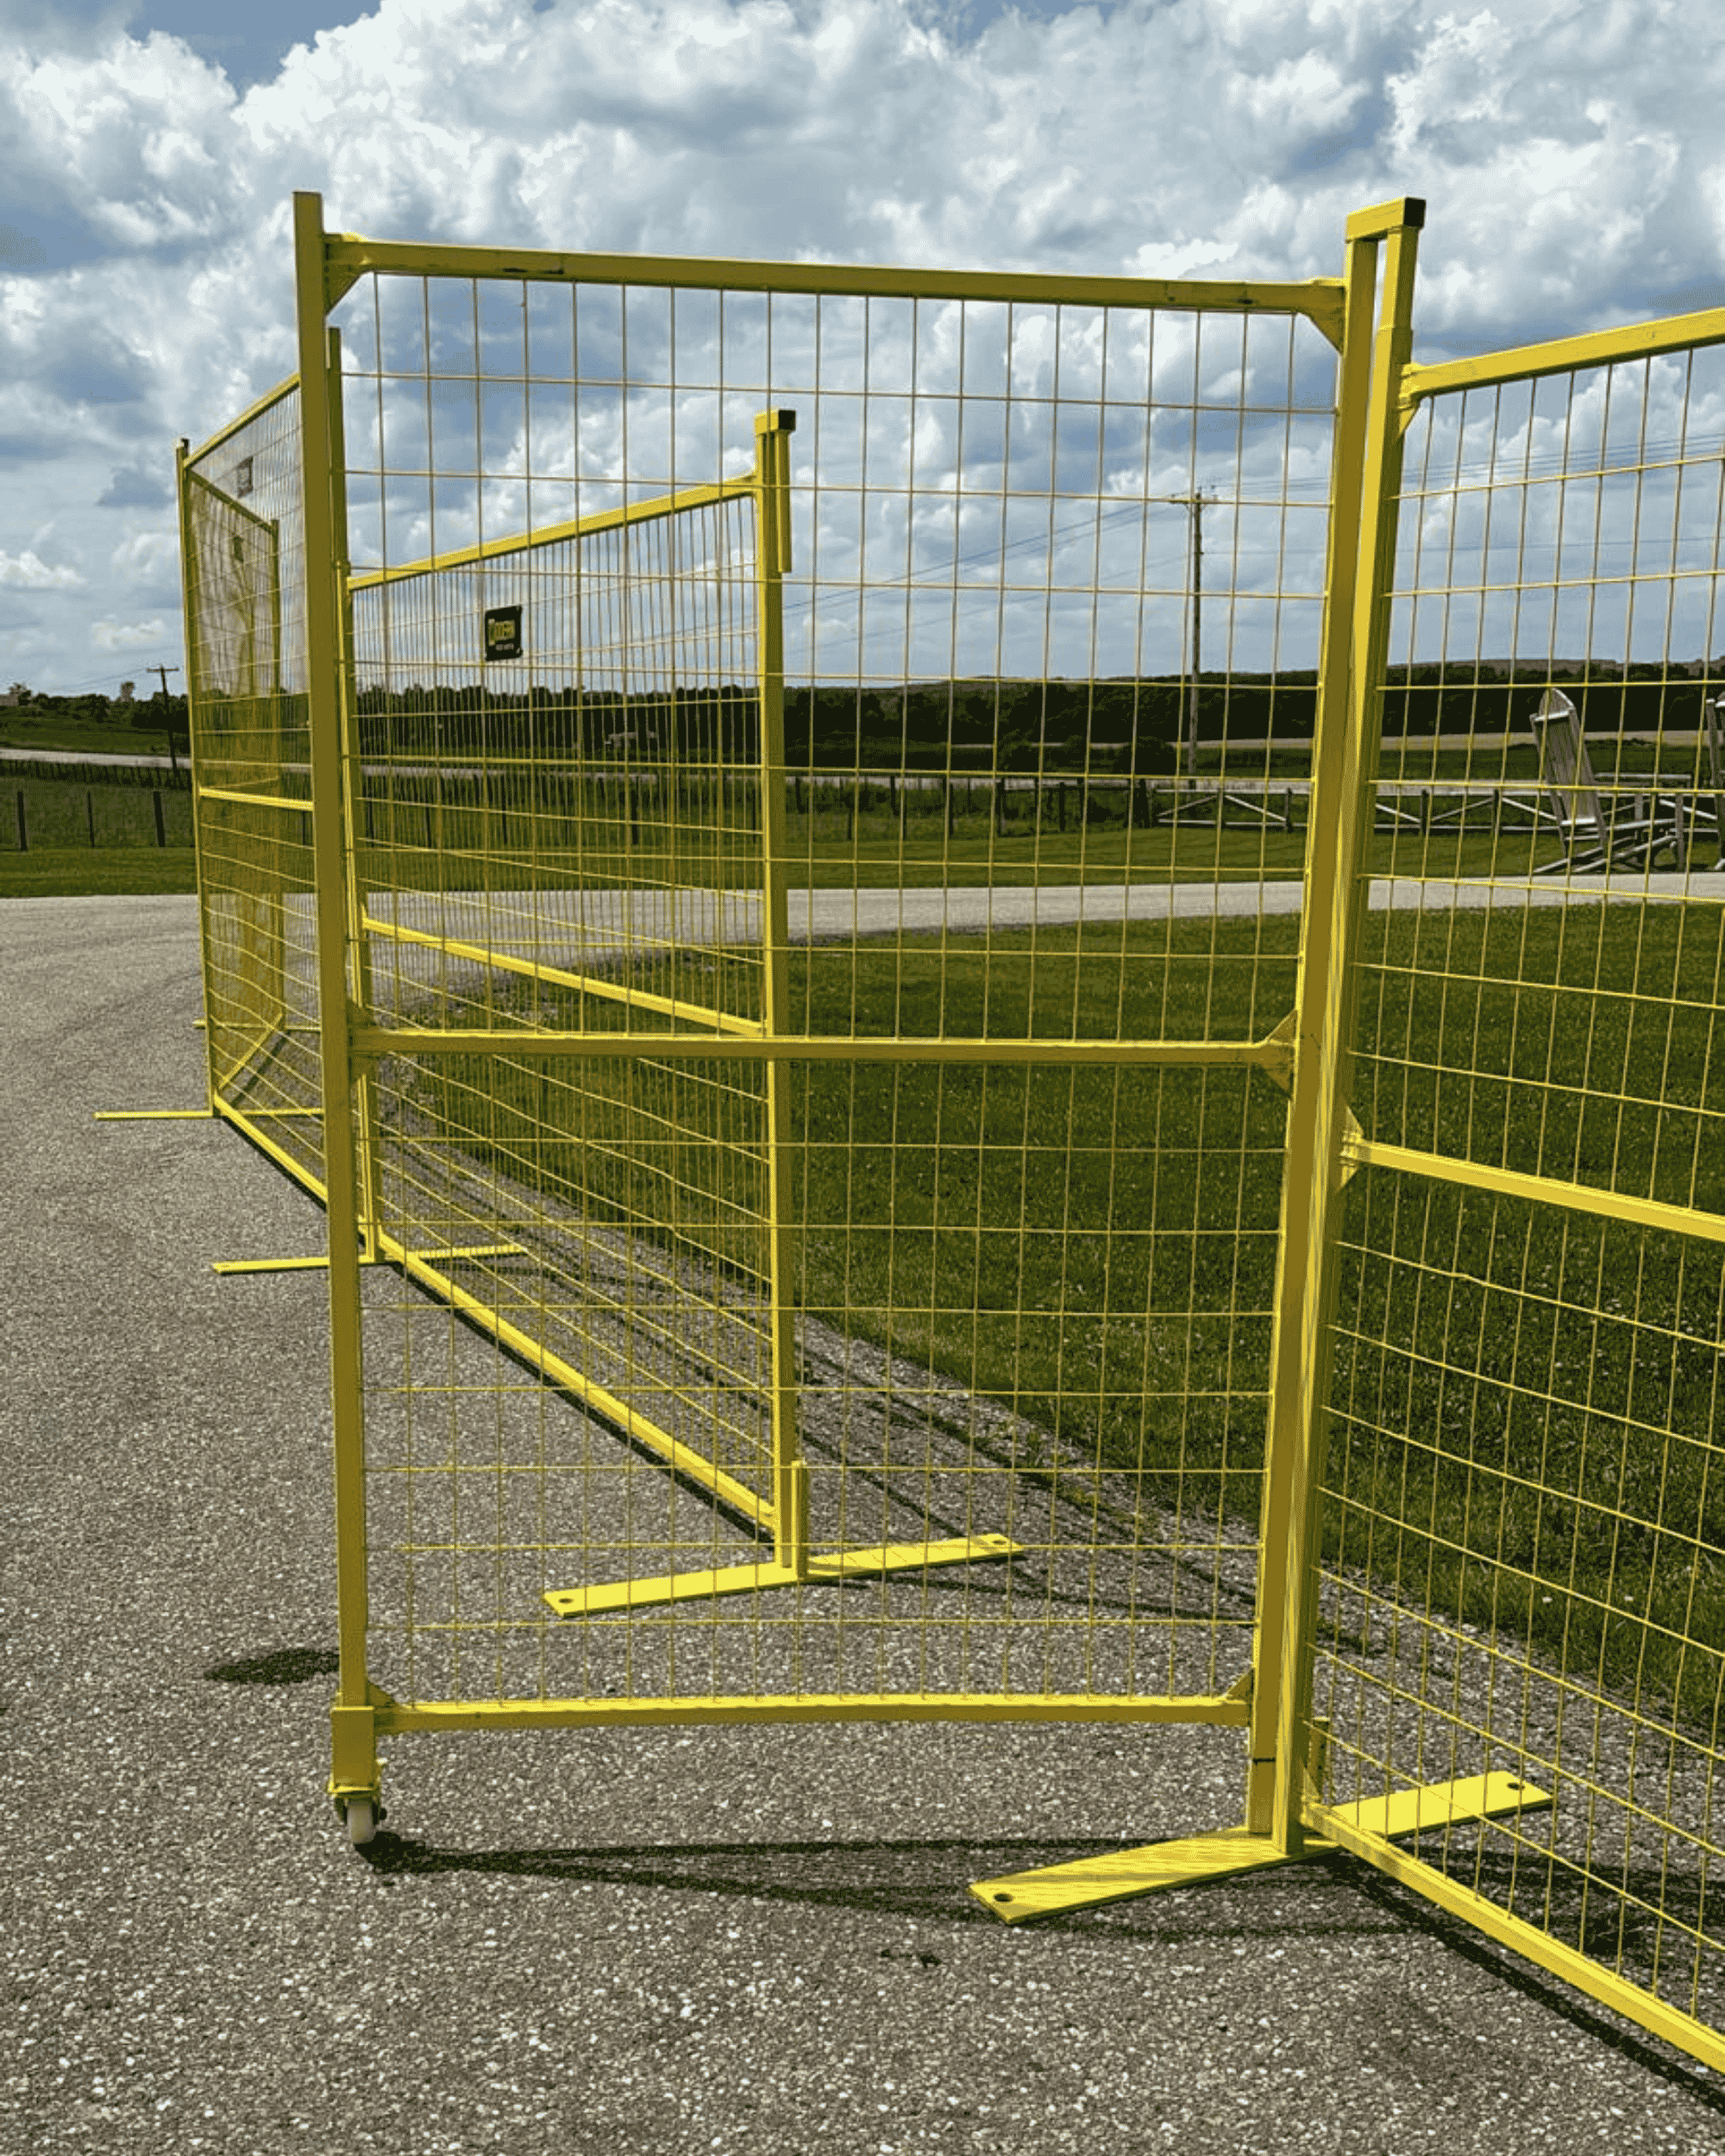
5. Set Up Gates: Gates can go anywhere along the fence line. They swing on the round peg. Place an adjuster over the round peg first to raise the panel. Install the wheel at the opposite end of the gate panel for balance. The gate should swing freely once level.
6. Secure the Panels: If using caps: Insert the caps (with matching square and round pegs) into the top of the panels – follow the same layout as the bases. If using clamps: Secure clamps tightly and ensure they face inward toward the site.
7. Add Privacy Screening (Optional): Roll out the screening along your fence line. Use zip ties or bungees to attach it evenly. Make sure the material is taut to avoid flapping.
8. Add Stability (Optional): Place sandbags or flexweight foot bases on top of fence bases. For windy areas, install wind braces as extra support.
9. Final Inspection: Walk the full fence line. Check for loose clamps, unstable panels, or sagging screening. Tighten and adjust where needed.
Need Help?
Relocation, Removal & Maintenance
Relocation – Relocation or modification of fence set-up can be requested by calling us at Modern Fence Rental.
Removal – Once Fence is dismantled, contact Modern Fence Rental for pick up.
Fence must be in the same state as it arrived (stacked with all materials together). Fence should be free of any non-Modern signage or banners when scheduled for pick up.
Maintenance Tips
- Regularly inspect the fence for any signs of wear or damage.
- Tighten any loose clamps or connectors.
- Replace damaged panels or bases promptly.
- Clean the privacy screening as needed to maintain appearance and functionality.
By following this guide, you can ensure a secure and effective temporary fence installation for your project or event. For professional delivery and setup, contact Modern Fence Rental to schedule your service.
Installation Types
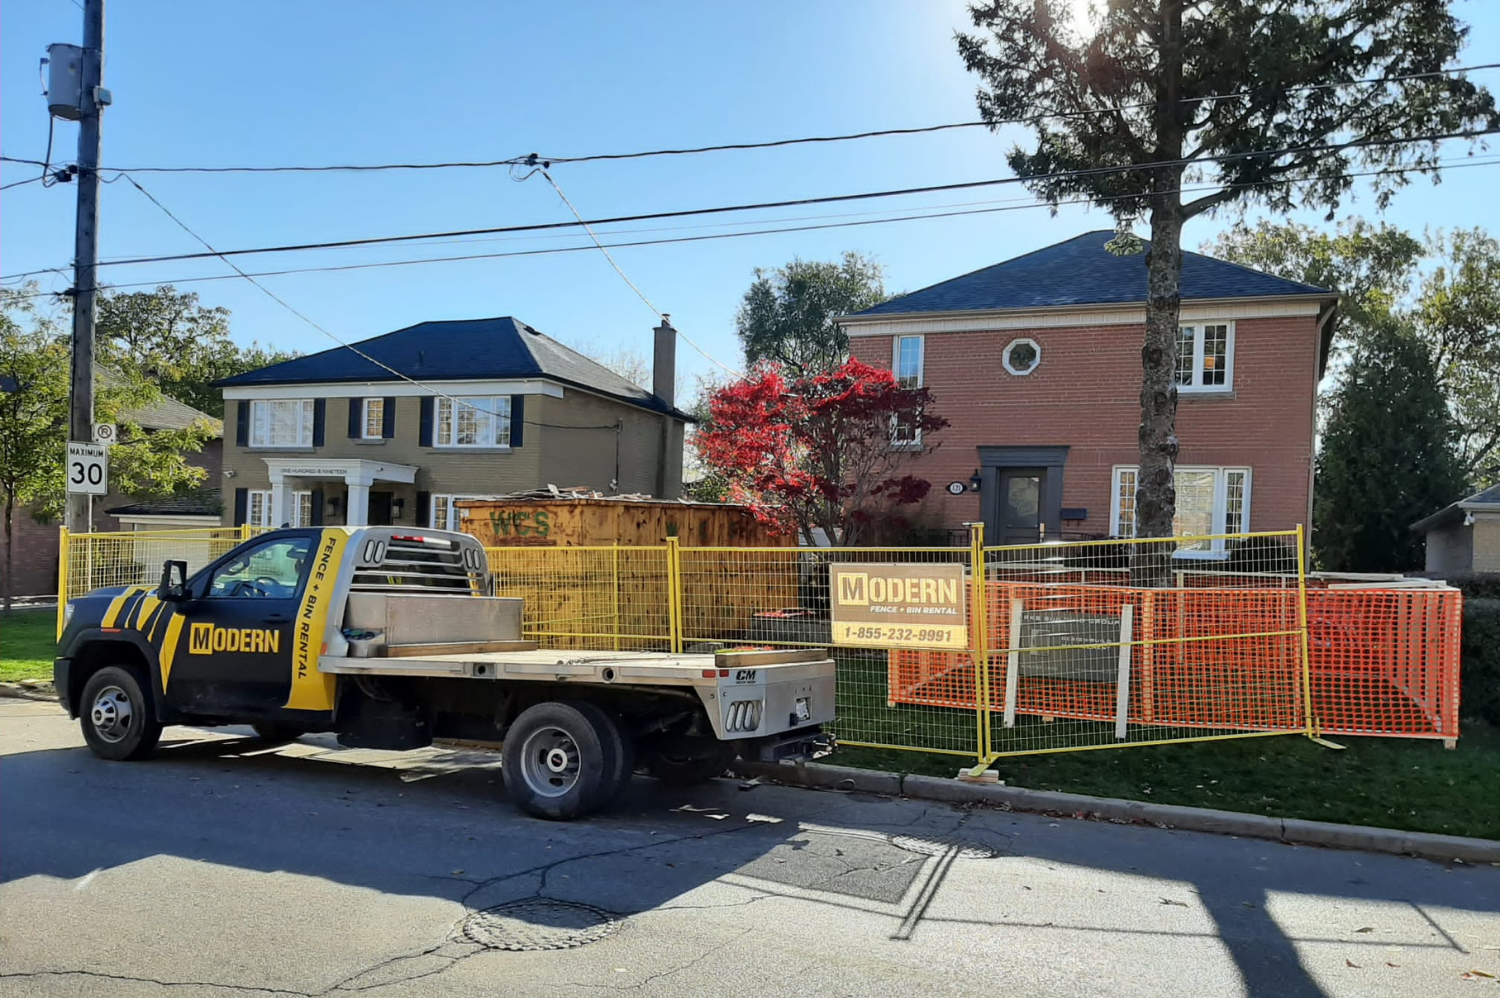
Residential Construction
Secure your residential construction job site with temporary fencing panels.
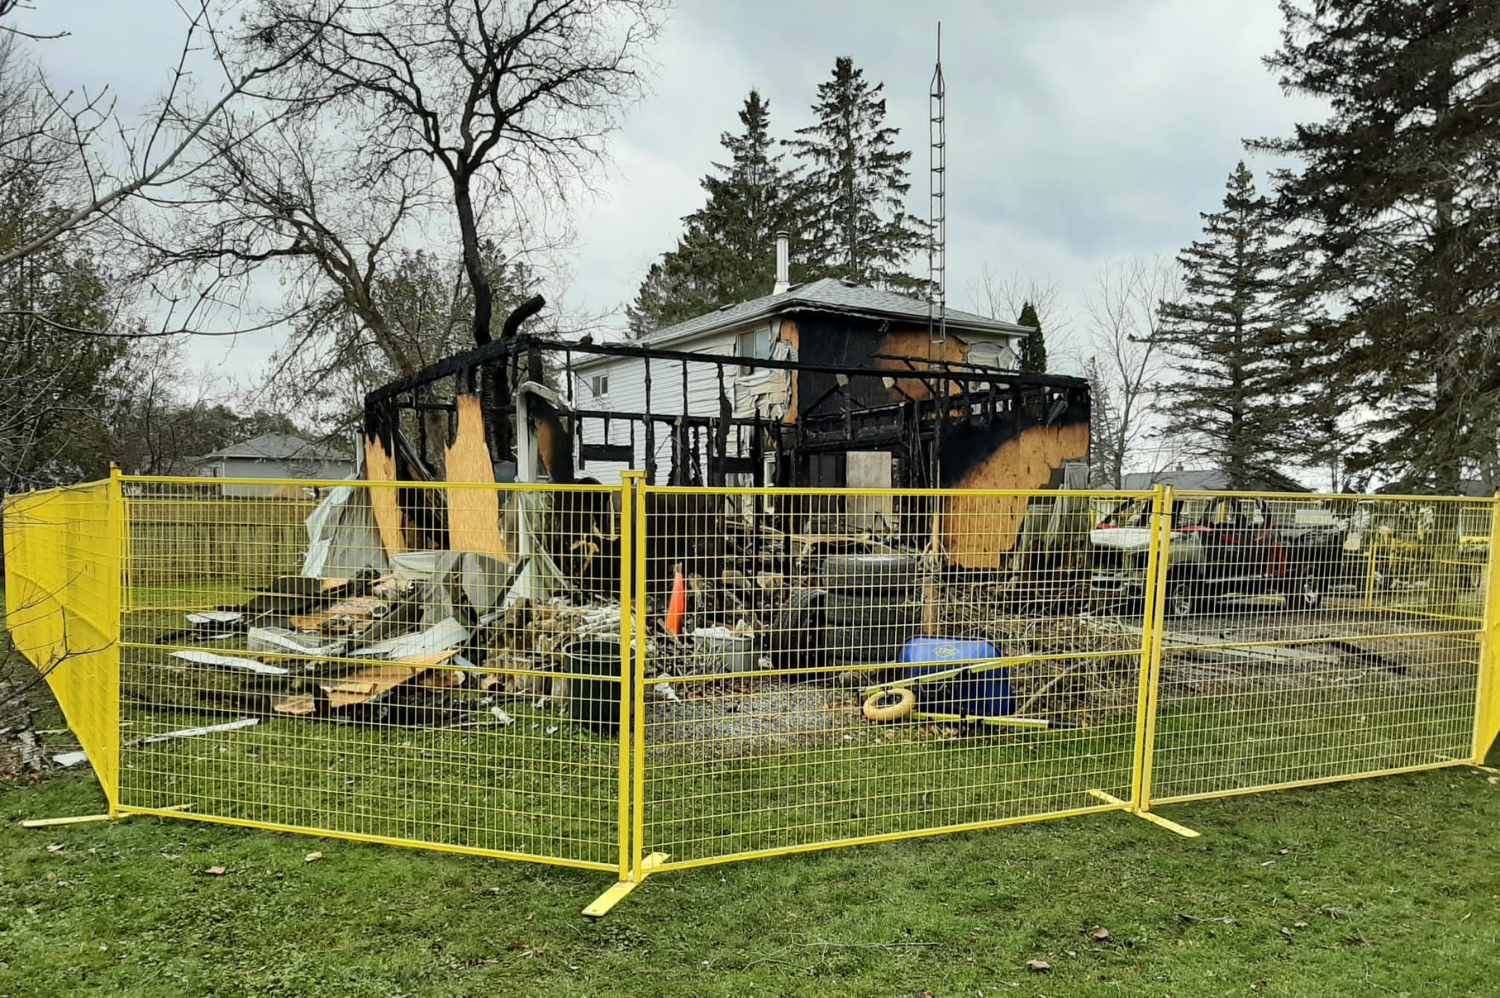
Fire, Flood & Restoration
We help secure fire, flood and disaster restoration projects quickly to ensure your property & valuables are safe.
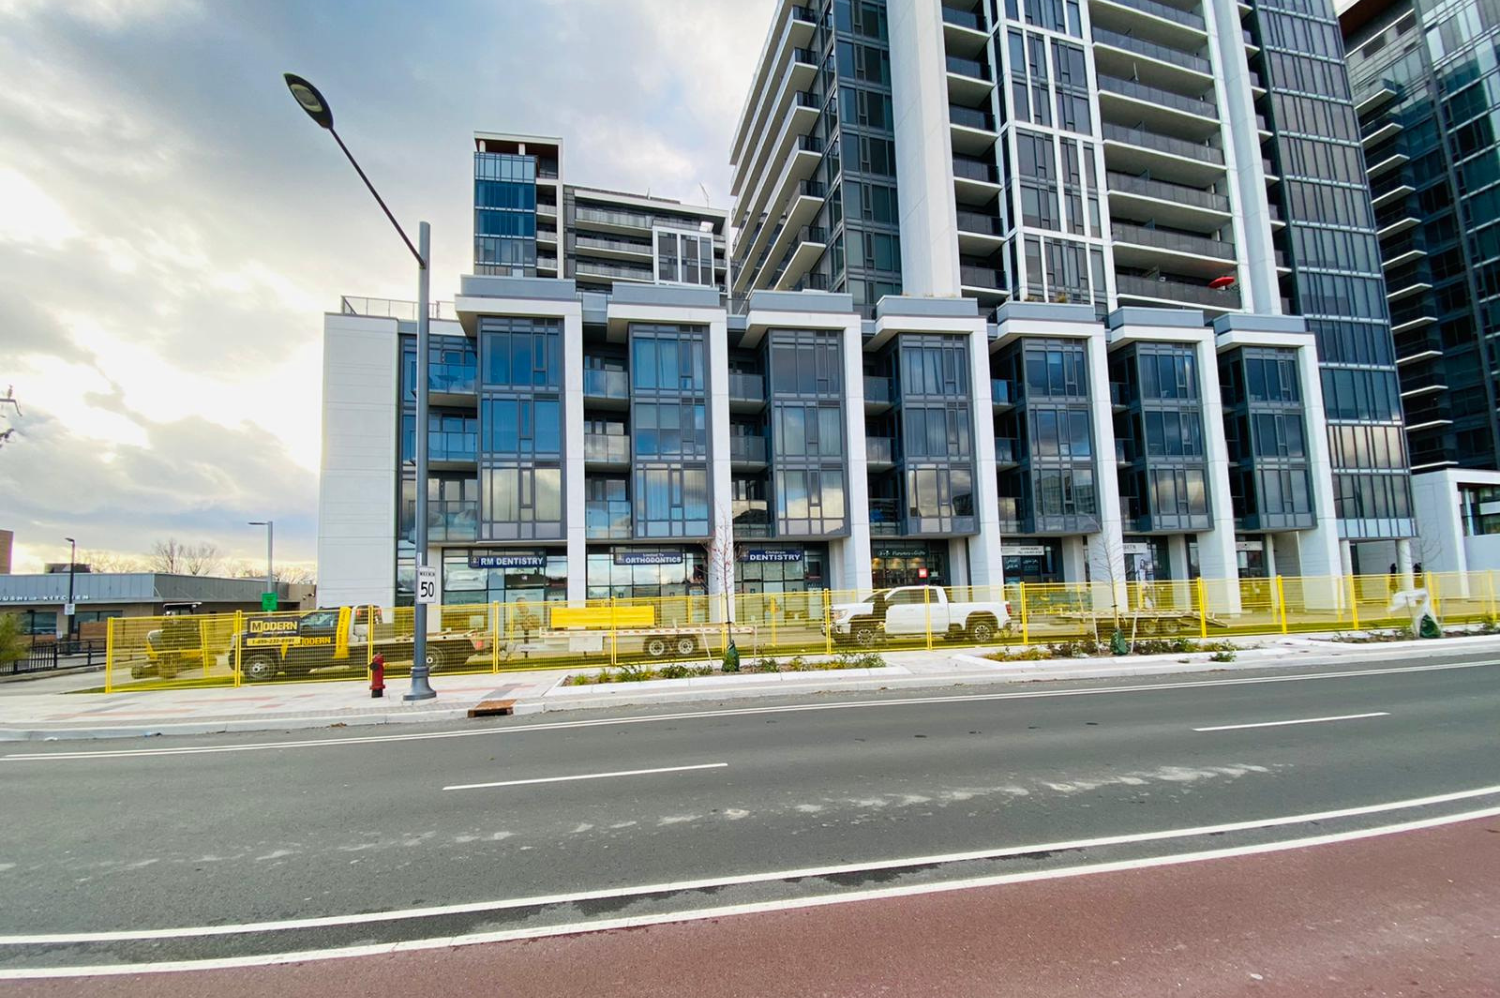
Commercial Construction
With safety of your site's workers and the general public a top priority, we offer fencing solutions for all sizes of commercial construction projects.
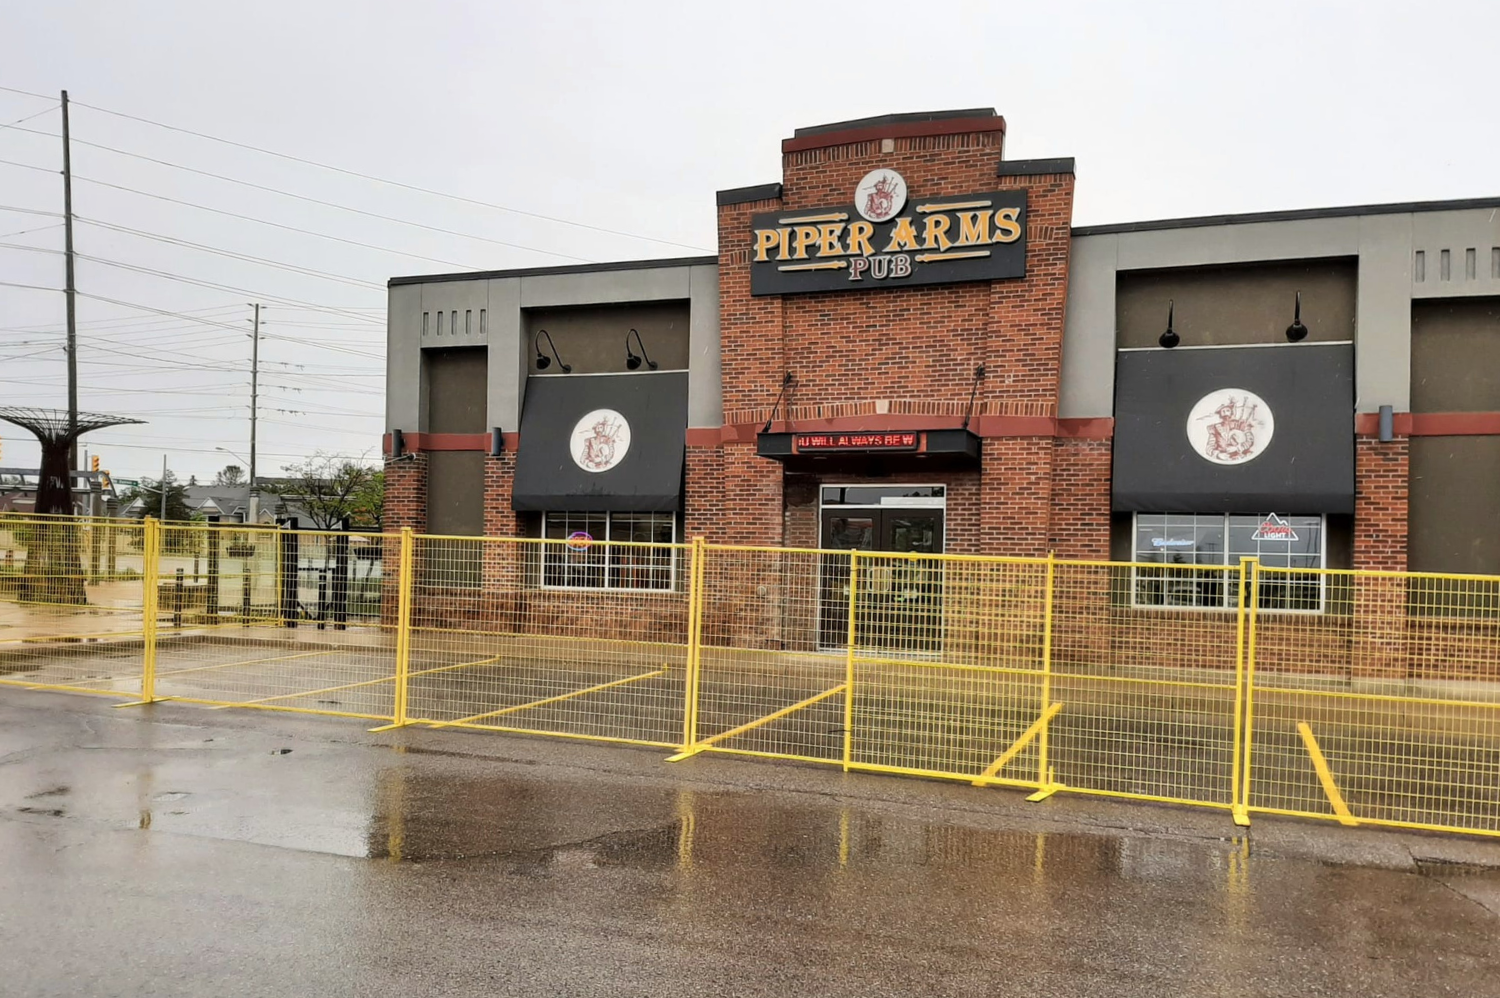
CROWD CONTROL, EVENTS, PATIOS & MORE
Fencing solutions for restaurant and bar patios, events, concerts and more (dog runs, hockey rinks, pool enclosures... the list goes on!).

